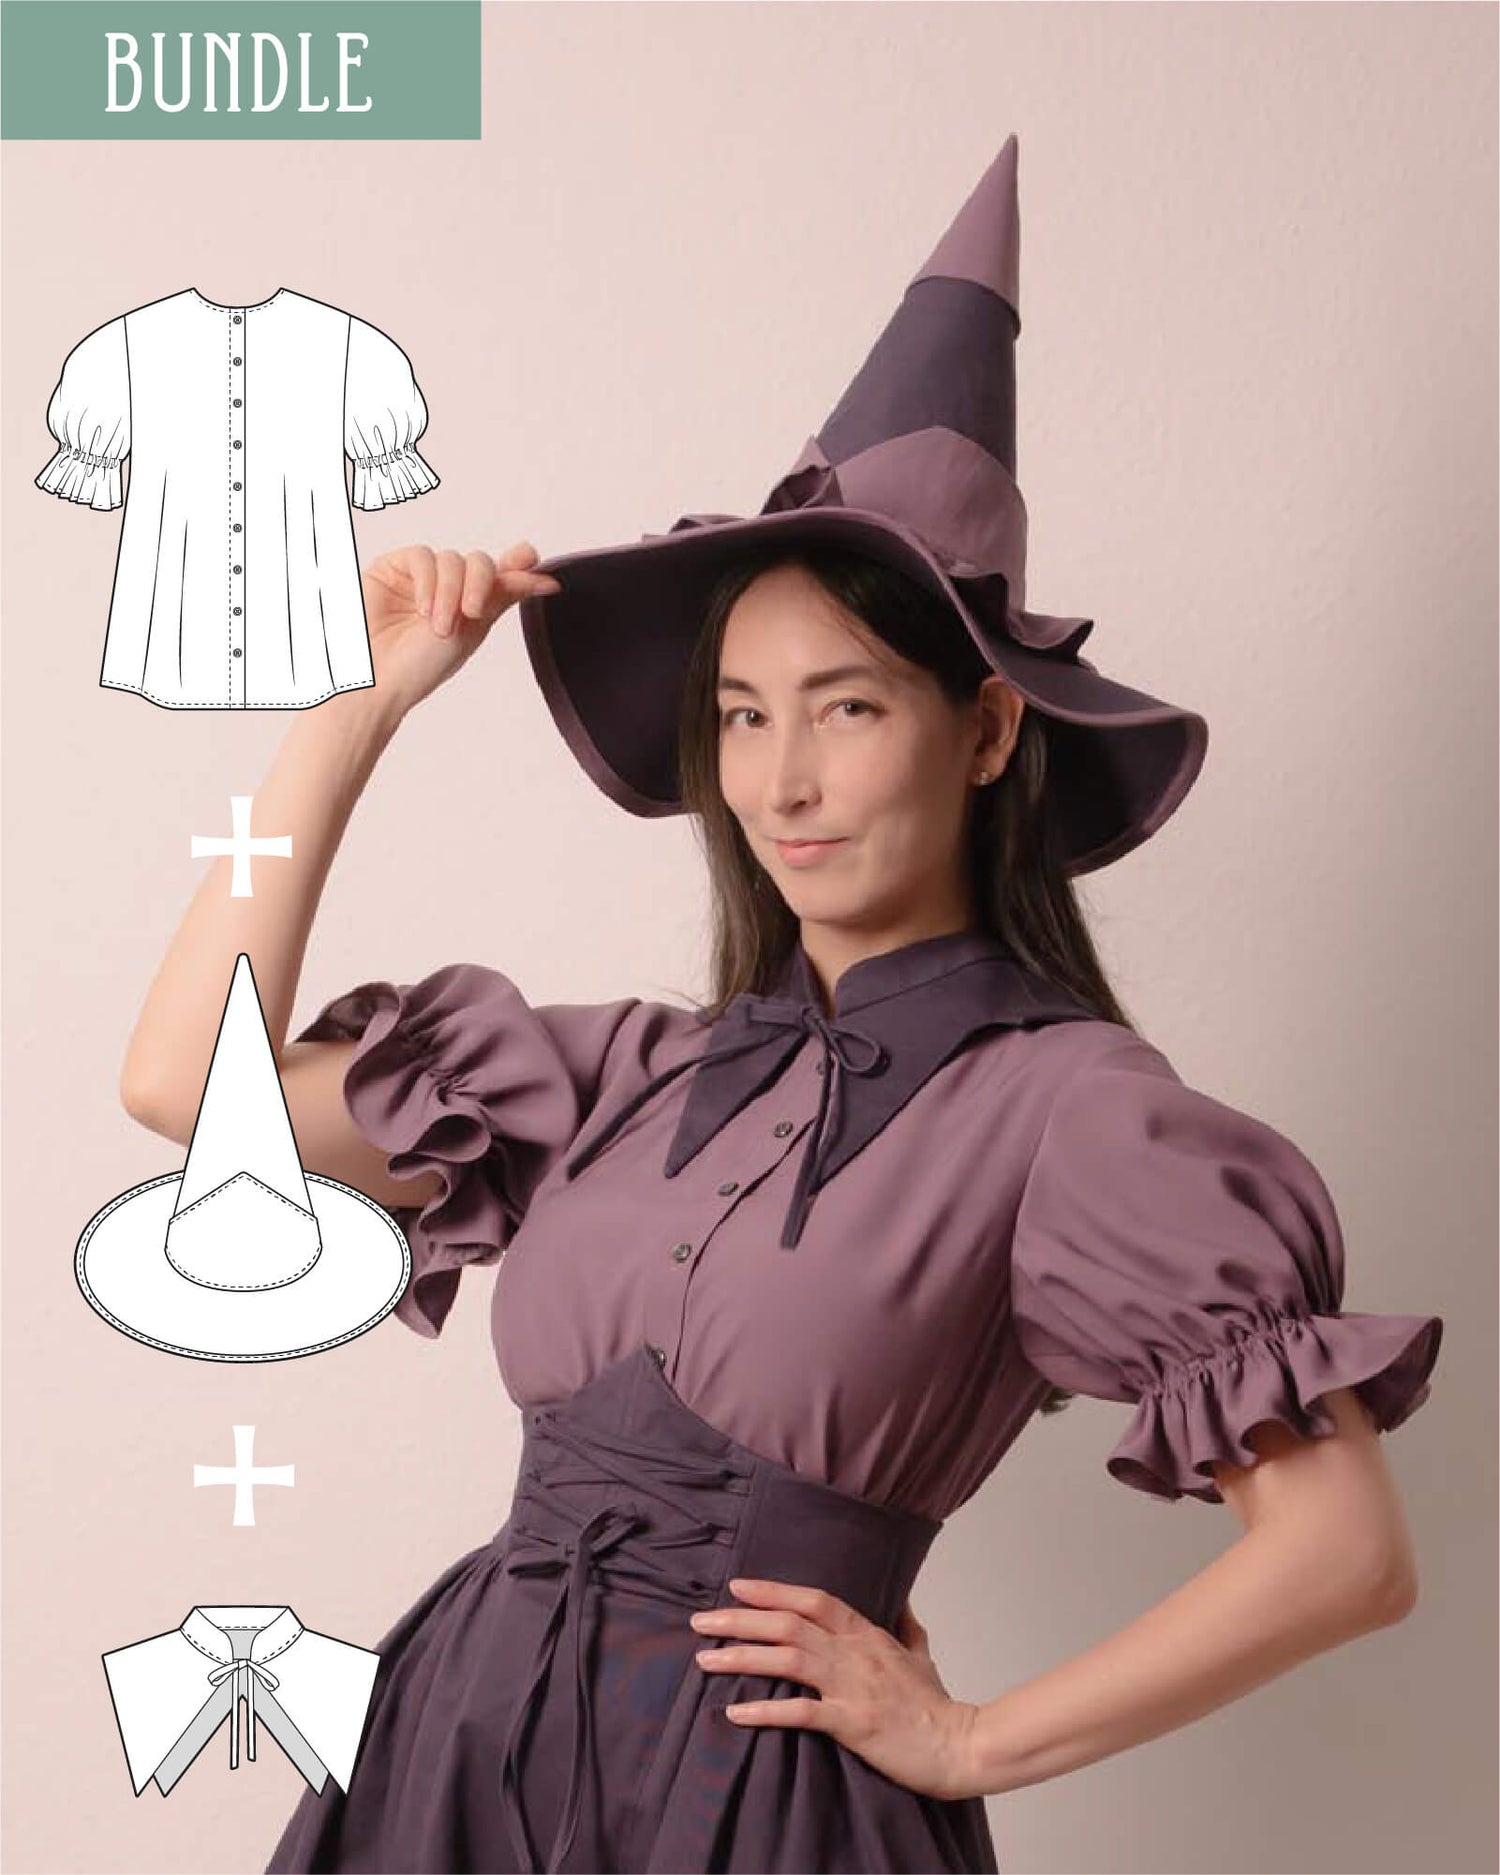
We designed Kalina to have this adorable bow closure in the back of the neck - a design feature that I think is sooo super cute. But maybe you are looking for a non-cute, more sophisticated Kalina Look? Then this blogpost is for you!

In this blogpost I am going to show you how to patternhack the Kalina collar

Patternhack Collar - Step by Step Tutorial
Step 1: Paper Pattern Alteration
Measure 1 cm (3/8 inch) from the center back notch and draw a line. Add a second line to add the seam allowance of 1 cm (3/8 inch). Then cut away the access paper pattern.

Step 2: Sew your collar to the bodice neckline using following technique:

1 - Join both collar pieces
Pin both collar pieces (10) RS together, matching up the notches. Stitch the seam around the long edge, starting and ending at the center back (CB) notch. Backstitch at beginning and end.
2 - Clip SA
Clip the SA as indicated in the diagram, especially in the corners to eliminate bulk. Clip corners and clip at center back notch so you can turn the SA neatly. At center back notch, be precise and cut the exact length of 10mm (0,4 inch) into SA.

3 - Turn collar RS out
Turn the collar RS out. Turn corners nicely using a turning tool. Press the collar firmly.
Turn the SA of the outer collar to the outside as indicated in the diagram. You end up with one SA sticking out to the outside and the other SA is hidden, facing the inside of the collar.
You will use the outside pointing SA to attach the collar to the bodice.
4 - Sew collar to neckline
Place the collar (10) RS together to the neckline. Align the outside-pointing SA of the collar with the raw edge of the neckline, align notches and edges and pin.
Make sure you only pin the outer collar to your bodice while keeping the inner collar out of the way.
Stitch the neckline seam. Stitch only the SA of the outer collar to the neckline.

5 - Wrap collar around edge
Wrap the collar around the edge to fold the inner collar to the inside of the neckline.
6 - Tuck SA inside & 7 - cover stitches
Tuck or iron the SA into the collar - All edges and SA are inside the collar now and the stitching is hidden. Bring the edge of the SA of the inner collar over the previously stitched neckline/collar seam. Pin or baste in place.
8 - edgestitch collar in place
RS up, start edgestitching the collar across the bottom edge, edgestitch all around the collar. Once finished, remove the basting stitch and press the collar.

9 - Attach buttons
Mark the position of the buttons/buttonholes onto the RS of your collar. The buttonhole should be in the middle of the collar, facing the horizontal direction on the garment.
Stitch the buttonhole onto the left overlap of the collar and your button to the right overlap of the collar.


I hope your collar turned out nicely! Try adding a fun button as an additional design feature
Please let us know how you liked the tutorial!
Happy Stitching,
Lucy & Faye


